 An electric guitar kit DIY (Do-It-Yourself) is a package that includes all the necessary components and materials for building your own electric guitar.
These kits are designed for individuals who have an interest in guitar construction and enjoy the satisfaction of creating their own instrument. Here’s some more information about electric guitar kits DIY.
Electric Guitar Kit Components
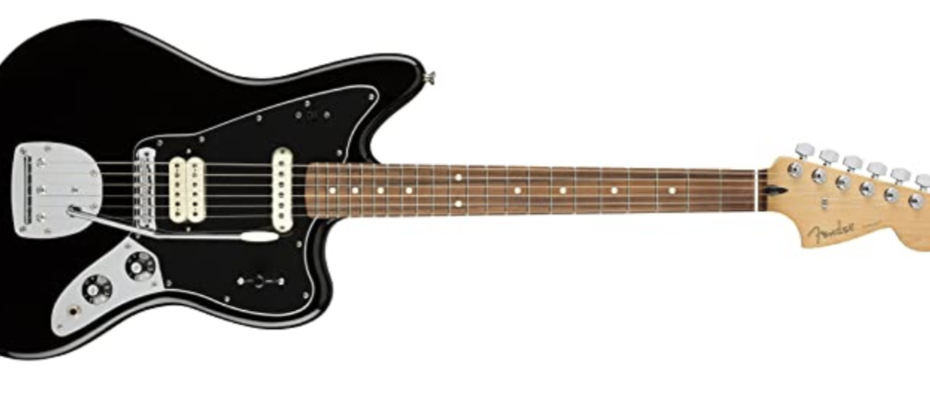
Electric guitar kits typically include a variety of components needed to assemble a functional guitar. This usually includes the guitar body, neck, fretboard, pickups, electronics, bridge, tuners, and other hardware. Some kits may also include additional accessories such as a pickguard, knobs, wiring, and screws.
Materials: The body and neck of the guitar kit are usually made from wood, such as basswood, mahogany, or maple. The fretboard may be made from materials like rosewood, maple, or ebony. The quality of the materials can vary depending on the kit, ranging from entry-level kits with more basic materials to higher-end kits with higher-quality woods.
 Assembly: Building an electric guitar from a kit requires some level of woodworking and assembly skills. You will need to follow the provided instructions and use tools such as screwdrivers, soldering iron, sandpaper, and clamps. The level of difficulty can vary depending on the kit, with some kits being more suitable for beginners, while others may require more advanced skills.
Read Also:
Ibanez S570AH Electric Guitar Review
12 Great Tips on Sight Reading for Guitar
Roland GR-55 Guitar Synthesizer Review
Electric Guitar Kit Customization
One of the advantages of a DIY electric guitar kit is the ability to customize various aspects of the instrument. You can choose the finish, shape, and color of the body, as well as the type and configuration of the pickups. This allows you to create a guitar that suits your personal preferences and style.
Learning Experience: Building a guitar from a kit can be a valuable learning experience. It provides an opportunity to gain hands-on knowledge of guitar construction, electronics, and setup. It can also deepen your understanding of how different components contribute to the overall sound and playability of the instrument.
Satisfaction and Personalization: Building your own electric guitar can be a rewarding and fulfilling experience. It allows you to create a unique instrument that reflects your individuality and musical tastes. It can also provide a sense of accomplishment and pride in playing an instrument that you’ve built yourself.
It’s important to note that building a guitar from a kit requires time, patience, and attention to detail. It’s recommended to have some basic woodworking skills or seek guidance from more experienced builders if you’re a beginner. Electric guitar kits DIY can be an enjoyable project for guitar enthusiasts who want to explore the world of guitar building and create their own instrument.
Assembling an Electric Guitar Kit
The assembly process of an electric guitar kit can vary depending on the specific kit and its level of complexity. However, here are some general steps involved in assembling an electric guitar kit:
- Gather the necessary tools: Before you begin assembling the guitar kit, gather all the tools you’ll need for the process. This may include screwdrivers, Allen wrenches, soldering iron, solder, wire cutters/strippers, sandpaper, clamps, and others. Refer to the kit’s instructions or any additional tool requirements mentioned.
- Inspect the components: Carefully inspect all the components included in the kit, including the body, neck, hardware, electronics, and other parts. Make sure everything is in good condition and that no parts are missing or damaged. Contact the manufacturer or seller if you encounter any issues.
- Attach the neck to the body: Follow the provided instructions to attach the neck to the body. This typically involves aligning the neck joint with the body and securing it using screws or bolts. Take care to ensure a proper fit and alignment of the neck.
- Install the hardware: Install the hardware components such as the bridge, tuners, pickups, control knobs, and other hardware according to the instructions. This may involve screwing them into place, adjusting their position, and making sure they are securely fastened.
- Wire the electronics: Connect the various electronic components, including the pickups, volume and tone controls, output jack, and any other wiring involved. Follow the wiring diagram provided with the kit or refer to instructional resources specific to the kit. Solder the connections carefully, ensuring good electrical contact.
- Test and adjust: Once the basic assembly is complete, it’s important to test the guitar’s functionality and make any necessary adjustments. Check the intonation, action (string height), and overall playability of the instrument. Make any necessary truss rod adjustments to ensure proper neck relief, and fine-tune the bridge and pickup heights to optimize the sound and playability.
- Finishing touches: If the guitar kit includes an unfinished body, you may need to apply a finish such as paint or stain, following the instructions and safety precautions. This step is optional depending on the kit and your personal preferences.
Common materials used by Electric Guitar Kit
Electric guitar kits typically include various materials for constructing the different components of the guitar. Here are some common materials used in electric guitar kits:
- Wood: The body and neck of the guitar are typically made from wood. Popular choices for guitar bodies include mahogany, basswood, alder, ash, maple, and poplar. These woods offer different tonal characteristics, weight, and aesthetics. For the neck, maple and mahogany are commonly used, while the fretboard can be made from materials like rosewood, maple, ebony, or synthetic materials.
- Hardware: The hardware components of an electric guitar kit, such as the bridge, tuners, and knobs, are usually made from metal. Bridges can be made from materials like steel, brass, or zinc alloy. Tuners are typically made from metal alloys like nickel or chrome. Knobs can be made from plastic or metal.
- Pickups: Pickups are an essential part of an electric guitar’s sound. They are typically made with a combination of magnets, wire, and plastic or metal casings. The magnets are commonly made from materials like ceramic, alnico, or neodymium, which influence the pickup’s tonal characteristics and output.
- Electronics: Electric guitar kits include electronic components such as potentiometers (pots), capacitors, switches, and output jacks. These components are typically made from materials like carbon composite, metal alloys, and plastic.
- Fretwire: Fretwire is used to create the frets on the fretboard. It is usually made from a combination of nickel and silver alloy, although other materials like stainless steel can be used for enhanced durability and tonal characteristics.
- Finishes: Some guitar kits come with an unfinished body, allowing you to apply your own finish. Common finishes include paints, stains, and lacquers. The materials used for finishes can vary but often include pigments, solvents, resins, and additives.